Kuryakyn ISO Grips Install Advice
Order Product #
6240 -- 1"
Universal Fit ISO-Grip 5 1/4" Long Handlebars
http://www.kuryakyn.com/products.asp?bn=metric&ci=2925
Buy your grips from Hal at Honda Direct Line! http://www.hondadirectlineusa.com/vtx/index.asp
The ISO Grip Throttle Boss is Product #6250
http://www.kuryakyn.com/products.asp?bn=metric&ci=2923
Here are some helpful hints I learned during the install
process. Some came from Kuryakyn's install
instructions and their Tech
Support, Other VTX owners and myself. Consider this a group contribution.
There are a lot of pictures on this page. If you
don't have enough time to wait for
them to load, then you don't have enough
patience to install the grips yourself! :-)
A few Warnings up front!
- Make sure you buy the correct grip! Early on, people recommended installing the Valkyrie grip and also one made especially for the VTX. Now the Universal Grip installs like the Valkyrie grip but isn't as long and you don't have to mess with the throttle cables like the original VTX grip.
- Once the glue has oxygen removed, it will cure almost immediately so apply the grip with One quick movement.
- You must mark the exact location on how you want the grips positioned because you will only have one chance to get it right.
- The individual grips are two different sizes. Make sure you figure out which one goes on each side before trying to glue them on.
- The Throttle Boss is adjustable about 1/4" each way. Make sure you put in on the end of the grip in the middle of the adjustment. This way you can adjust it 1/4" each way after the grip is installed to fine tune your riding preference. If you forget, you can use a small file to extend the slots.
- Make sure to cover your bike so you don't get glue on it.
- If you get the glue on anything, remove it at once because buffing the glue off the chrome part of the grips will slightly discolor it.
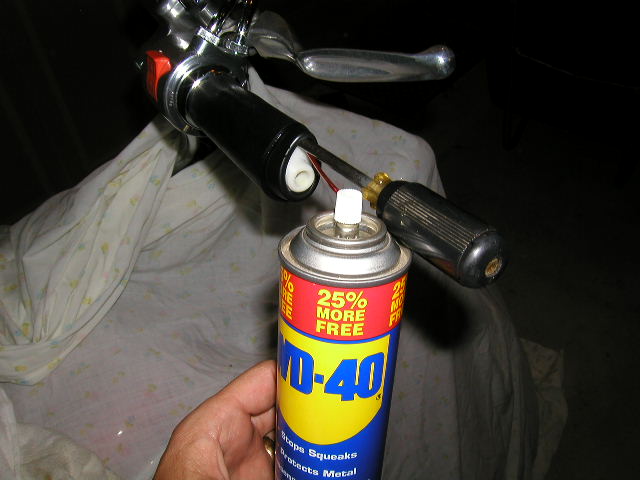
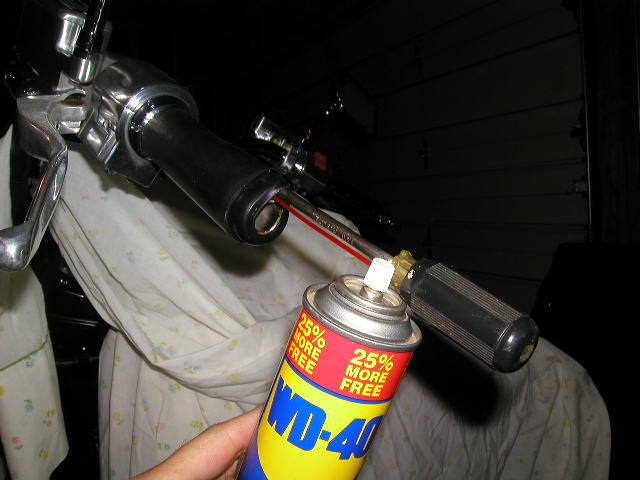
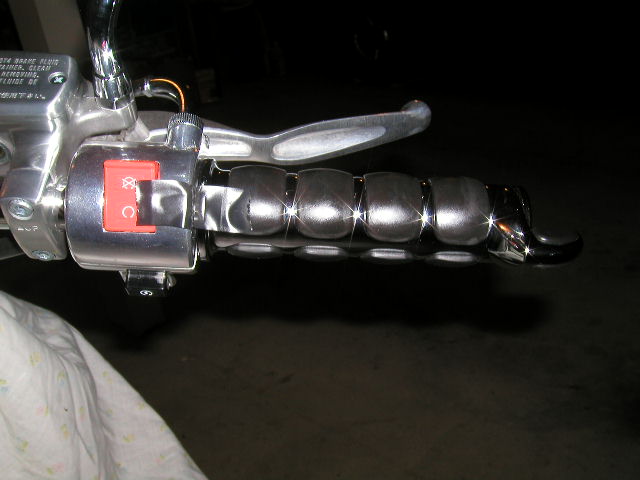
Step One (Right Grip Pictured) - After you unscrew the right grip end
cap, you can easily remove the old grips
without damaging them. Just use a
screwdriver to move the grip away from the throttle so you can spray WD-40 in
it.

Step Two (Right Grip Pictured) - Clean the glue off with with a rag.
Step Three (Right Grip Pictured) - The Honda glue easily comes off.
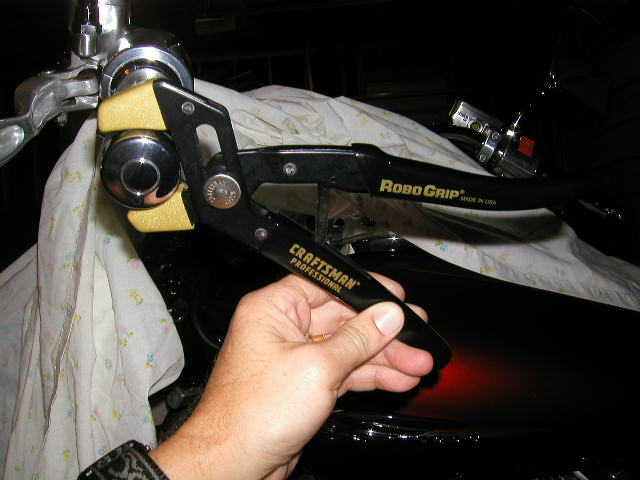
Step Four (Left Grip Pictured) - Use pliers that will not scratch the
chrome to remove the left grip end cap. Just twist and
pull at the same
time. (This is another great reason to buy another craftsman tool!
The plastic pliers tip covers are very useful.)
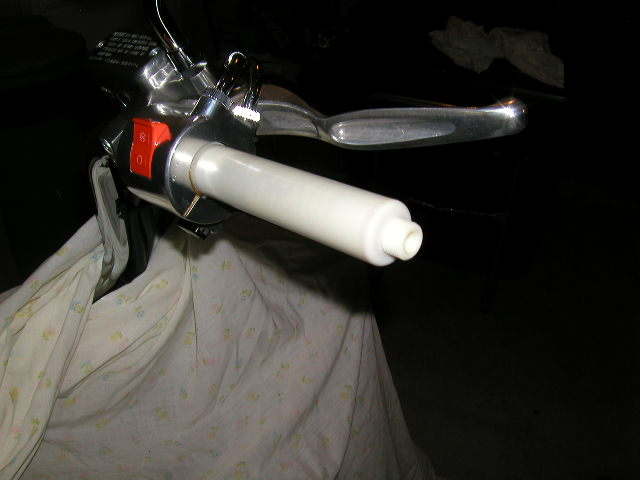
Step Five (Left Grip Pictured) - The left grip comes
off easily
because it is only held on with the prongs that go in the slot of the
rubber grip.
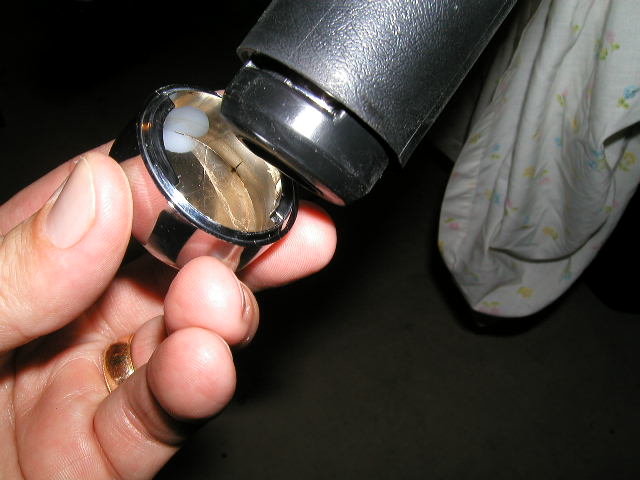
Step Six (Left Grip Pictured) - Use the WD-40 and the
same
method described in Step One to remove the left rubber grip.

Step Seven (Left Grip Pictured) -
Clean the glue off with with a rag.
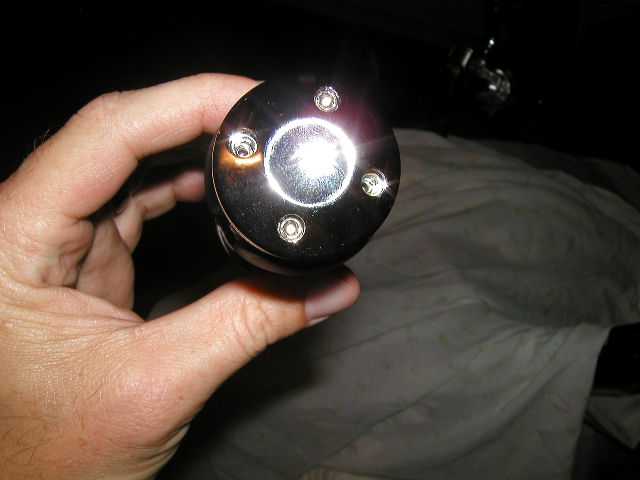
Step Eight (Both Grips) - Take out two of the screws
from
each end cap so that the air can escape as you install the grip.
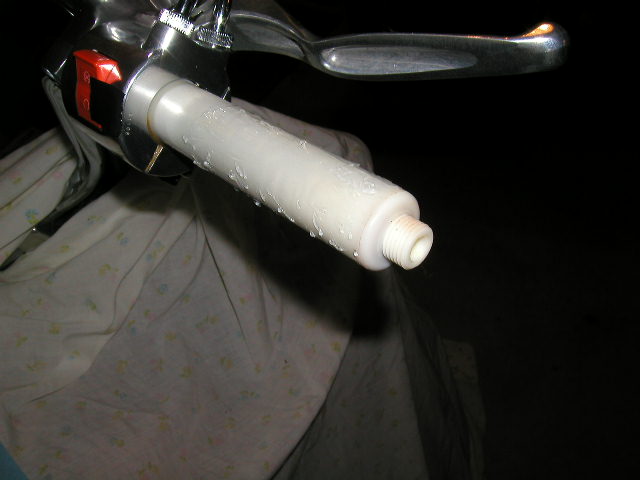
Step Nine (Left Grip Pictured) - Wrap the left grip
only with black electrical tape.
According to Kuryakyn, this helps remove
the air as you install the grips so the glue will cure.
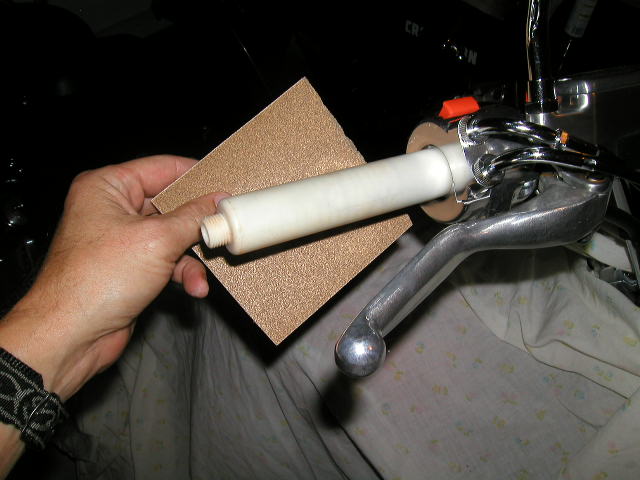
Step Ten (Right Grip Pictured) - Rough up the right
grip with sandpaper so the glue can adhere better.
Step Eleven (Right Grip Pictured) - You only get one
shot on applying the grip because the glue will cure very quickly.
Make
sure to spend a lot of time deciding exactly how you want the throttle grip
positioned. Once you have decided, apply tape to
both the grip and the chrome
throttle quadrant so you have a reference to install the grip quickly once you
have the glue applied.
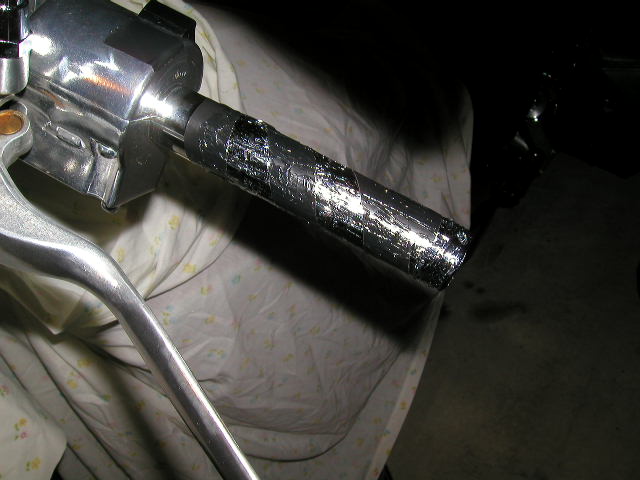
Step Twelve (Right Grip Pictured) - Make sure to leave
the glue at least 1 1/2" away from the top.
You should also work on
smoothing out the glue more than I have in this picture because the end of the
grip will
collect the extra glue and get in on the chrome where the throttle
cables attach.
Step Thirteen (Left Grip Pictured) - Use the same
technique as described above for the left grip. I did the
right grip first
so you can match the left grip so they both look the same. The positioning
of the Right grip is the
most important because of the Throttle Boss. Remember
to pre-mark the grip and the chrome piece with tape that
holds the turn signal
so you can quickly align the grip in the correct position before the glue dries.
Step Fourteen (Right Grip Pictured) - Make sure to
check the installed grip for any excess glue and
remove it right away.
This picture also gives you an idea of the positioning of the Throttle Boss that
I personally prefer. I actually
have it positioned backwards from the way the instructions say because I like to
have the whole grip available and then I slide my palm
to the outside edge of the grip if I want to use the Throttle Boss. You will need to experiment
yourself, but if
the position is not
correct, you will feel it your shoulder instead of your
wrist after a very long ride.
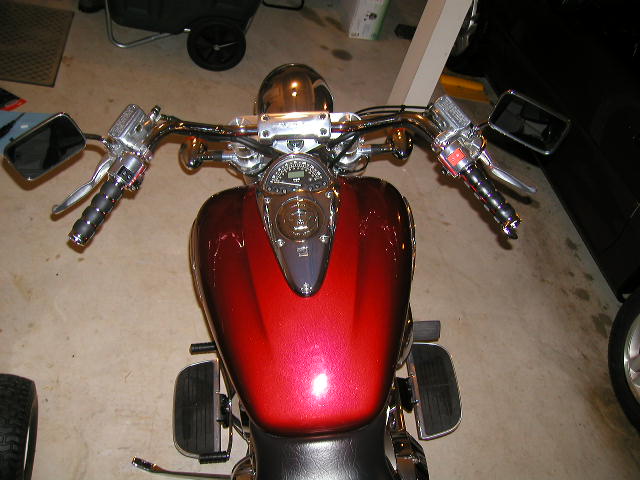
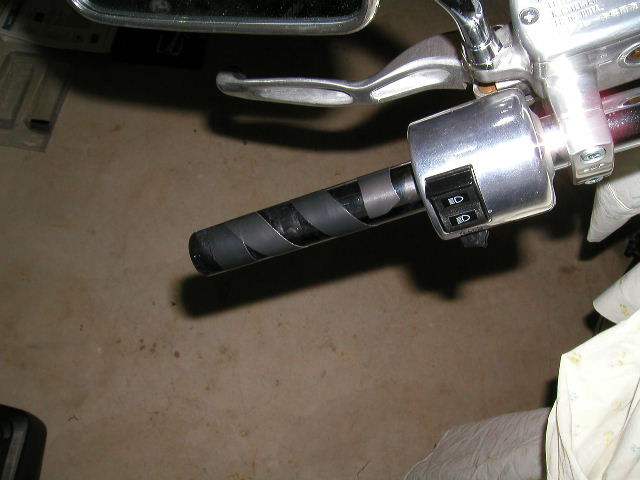
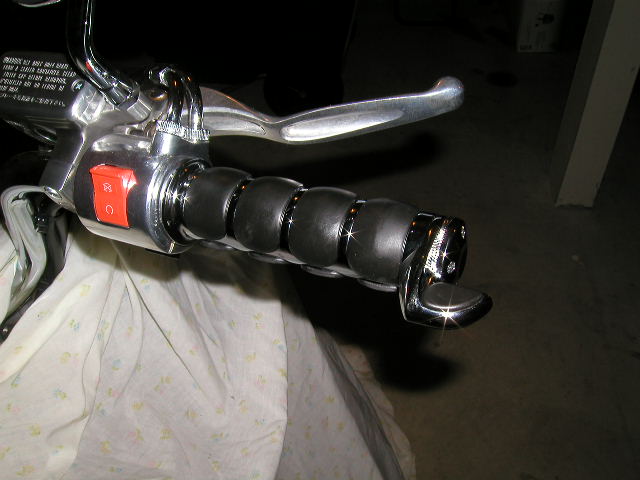
Step Fifteen (Both Grips Pictured) - Finished product.
They feel even better on
long rides than they look!!!
(I don't need no stinkin' cruise control!) :-)
Good Luck!!!
Hey, while you are at it...

Buy your grips from Hal at Honda Direct Line!
http://www.hondadirectlineusa.com/vtx/index.asp

Here is their booth at the 2003 Honda Hoot. Their
stores are actually bigger than this though! :-)
P.S. Legal Disclaimer: I am not a Lawyer
but... If you screw this up please don't blame me. :-) I am
just trying to help you out by posting a few pictures of what worked for me.
If you still have doubts about
installing this yourself after reading this...
HIRE a good MECHANIC to do the install for you!!!
Back to GRMorris Web Productions Home
© 2006 GRMorris Web Productions